Some of the links in this post are affiliate links. This means if you click on the link and purchase the item, I will receive an affiliate commission at no extra cost to you. All opinions remain my own.
You just got engaged. The moment you’ve been anticipating has finally happened–your partner popped the question and BAM, you’re engaged! Call your parents, call their parents, call your best friend, and of course post that bling on Facebook. But, let’s be honest: Many of those social media ring shots aren’t that great. It’s hard to get close-up jewelry photos on a whim, what with the excitement of the moment, bad lighting and possibly over-zealous witnesses. So to help you get your social media game on point, I’ve put together some basic tips to get great ring photos whether or not you have pro-grade equipment on hand. Shooting rings is one of my favorite parts of wedding photography because it can be simple yet creative–and it’s a lot of fun showing off bridal bling.
No. 1: Take a deep breath and find a good location
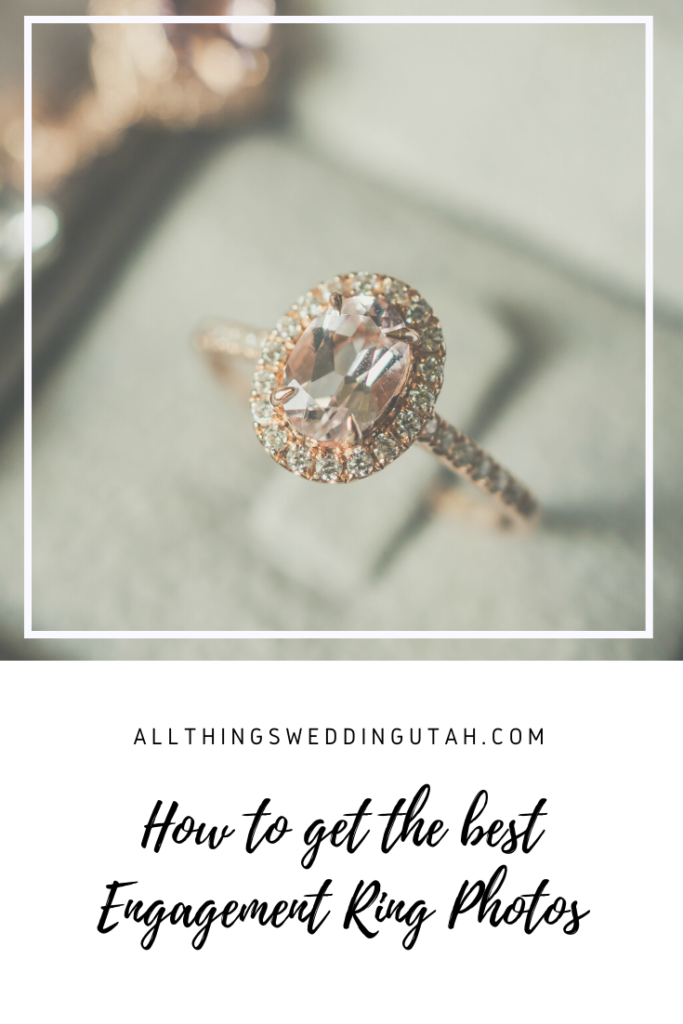
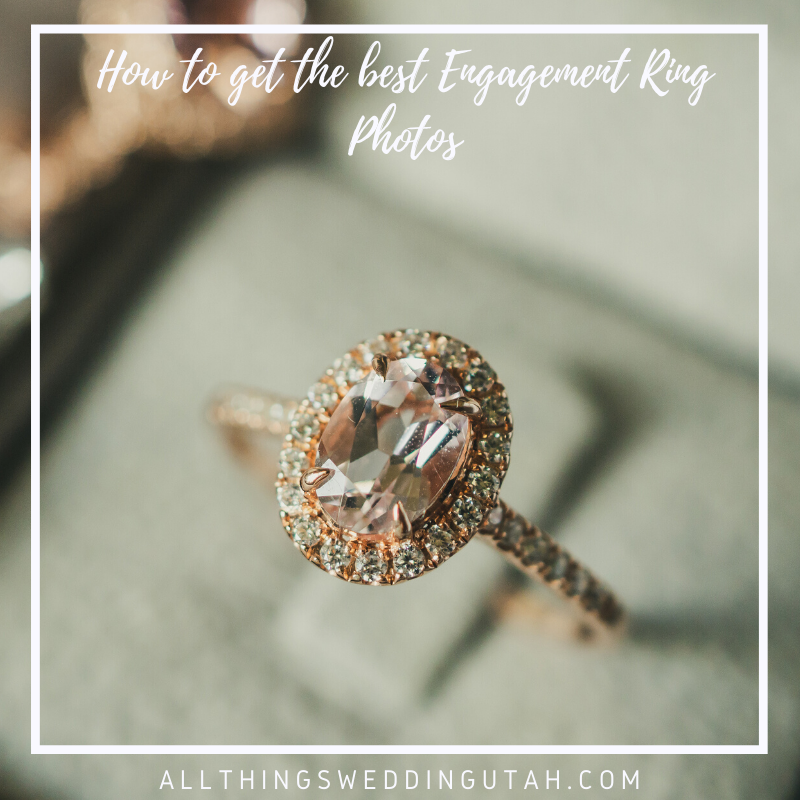
Sometimes this might entail waiting a day or two to post your rock online, but you want to find a spot with consistent and even lighting, whether you are snapping your ring on your finger (more on that later) or setting up a shot in nature. The photo above is actually my engagement ring and my husband’s wedding ring and it was shot in our laundry room. Yup. Best lit room in our house with its skylight and white walls. So if you’re inside, find a well-lit room preferably with natural light (artificial light can cast weird colors and may not give your ring the best look). If you’re outside on a cloudy day, pretty much anywhere is good, or head for light shade if the sunlight is bright.
No. 2: Equipment isn’t everything
I get asked a lot about my equipment. Does it help me get amazing-looking photos? Yes, I bought it for a reason. Should you run right out and drop a couple Gs to capture your bling? No. For rings, I use my Fuji XT-1 with a 18-55mm lens (this is a kit lens, by the way), and a macro attachment I got for Christmas, like, five years ago. I also use my Canon Rebel XTi (a low-grade consumer DSLR) as well. Honestly, you aren’t going to get super-crazy close-up photos without shooting macro, but as long as you are patient and willing to experiment, you can get some great shots on your phone or DSLR. Many consumer DSLR lenses have macro now, so check your lens specs.
The photo on the left was taken with my Fuji setup and the photo on the right was shot and edited on my Samsung Galaxy S6. Is there a difference in quality? Yes, for sure. But the right-hand photo isn’t too shabby and if you uploaded it to Facebook, nobody would notice. So, again, be patient and experiment. (P.S., the rest of the examples in this post were shot on my pro setup because they were shot at weddings/engagements sessions, but hopefully you get my point about equipment.)
No. 3: Details are key
The trick to getting interesting jewelry photos is to balance the details of your background with the details of your ring. If you’ve got a very simple ring, a busier background might not be so bad, but you also don’t want to overshadow your stone–you want to complement it. Same goes for rings that have a lot of sparkles or intricate filigree, like the photos below.
I loved the cover of the old photo album in the left-hand photo, but it is way too distracting for this ring that has a million diamonds on it (side note: See the pink color cast on the blue stone? Also distracting, so pay attention to reflections and colors when you are composing your shot). Once I moved it to the family-heirloom Torah, the ring is enhanced and stands out a little more. The Hebrew characters are busy, yes, but they don’t take away from the focus of the photo, which is the lovely ring.
Simple rings are a little tougher. Like I said, you don’t want to overwhelm your dainty stone, but it’s pretty easy to do that. I had a very tough time finding a great setting for the ring above, but my persistence resulted in one of my all-time favorite ring shots when I managed to stand it up in a succulent centerpiece. There’s enough detail in the background to make it interesting and that little diamond sparkles like an eight-karat rock. When I say details are key, I really mean it. Flowered settings are lovely but think outside the bouquet for a minute and try to get something unique. Some of the details I’ve photographed rings with include pianos, fence posts, snow, combs, lockets, ceramic eggs and a Malaysian teapot, just to name a few. But another thing that really helps out the photo above is…
No. 4: Contrast
Whether it’s color or light, contrast is always a hit. The color in the left-hand photos really adds a pop to the simple antique ring, and the photo on the right has a darkly lit background while the well-lit right is practically 3-D. This all comes back to one of my main points: experiment. Find some cool colors or some interesting shadows and go to town.
No. 5: Nails make or break the shot
Hands are weird. Seriously, they are one of the most difficult parts of the body to photograph–unless you are a pianist or hand model. So the one thing I ask you to do, and this is for your own self confidence as well as your photographs: Get a manicure. It really makes all the difference. Believe me, I have stubby troll hands but when I got a French tip done, my little sausages transformed into elegant princess hands that made me feel regal as all get out. You’ll want your nails to be a little bit longer than your actual finger, and a French tip gives the illusion that your fingers are longer and slender-er than they may actually be. The reverse is true as well. I’ve photographed beautiful hands with short nails and the resulting photos were, well, less than flattering. The subject in the photo above has a set of fabulous fake nails on (which makes the photo all the cooler), but I think you get the gist of it.
Well, I hope you have all enjoyed these tips, or at least learned something from them. Now get out there and shoot some bling!
Sarah Arnoff is a Salt Lake City based photographer specializing in wedding photojournalism, documentary portraiture and antique analog photographic processes. You can contact her via her site www.SarahArnoff.com and follow more of her work on Facebook, Instagram and Pinterest.